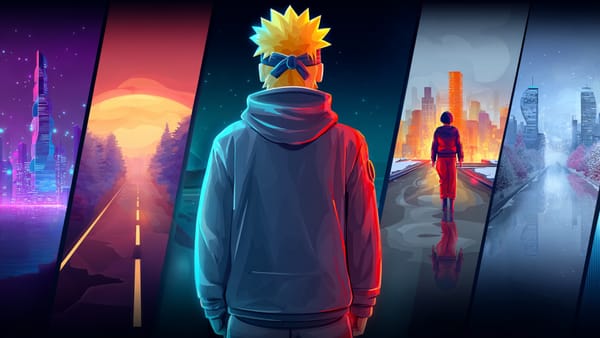
AI Filmmaking Tutorial: How to Create AI Films From Concept to Final Cut
Unlock cinematic excellence with AI filmmaking tutorials. Enhance storytelling, elevate visuals, and innovate with AI tools. Start creating now!
AI filmmaking is no longer limited to experiments or isolated clips. It is increasingly being used to produce structured, short-form films where planning, pacing, and continuity matter as much as visual quality. The shift is visible in how the industry is adopting AI: Deloitte projected that in 2025, studios would allocate less than 3% of production budgets to generative AI content creation, but around 7% of operational spend to areas like planning, localization, and dubbing. This reflects where AI is most useful today, inside production workflows, not as a replacement for them.
That makes workflow the real differentiator. Projects that rely only on prompts tend to break under inconsistency, while projects built around pre-production, storyboarding, and controlled generation are far more likely to hold together as films.
In this blog, we break down a production-grade AI filmmaking workflow from concept to final cut, including storyboarding, scene generation, voice, editing, and publishing for cinematic short-form films.
TL;DR / Key Takeaways
- AI filmmaking works when planning, not prompting, drives production, with clear decisions around concept, structure, and pacing made early.
- Storyboarding and scene-by-scene generation help maintain continuity and reduce costly rework across the film.
- Audio decisions (voice, narration, dubbing) should be made during production, as they directly affect timing and visual flow.
- The most reliable workflows follow a structured pipeline: concept → storyboard → scene generation → voice → edit → publish.
- Frameo enables this workflow by combining prompt-based video creation, storyboarding, scene generation, voice, dubbing, and short-form output in one system.
What AI Filmmaking Actually Requires (Beyond Generating Clips)
Most failed AI film projects fail for the same reason: they confuse generation with filmmaking. Generating clips is trivial. Making those clips function as a film is not.
AI filmmaking still requires the same core production phases as traditional film:
- Pre-production to define intent and constraints
- Production to assemble scenes with continuity
- Post-production to refine pacing and clarity
What changes is where mistakes compound. In AI-driven workflows, ambiguity early on multiplies downstream. A loose concept leads to visual drift. A weak structure produces impressive-looking scenes that don’t hold attention.
This is why “prompt-only” approaches break down quickly. Prompts are inputs, not plans. Without a clear framework for story, look, and assembly, AI fills gaps inconsistently. The result is footage that looks cinematic in isolation but collapses when viewed as a sequence.
An effective AI filmmaking tutorial has to teach decision-making, not just execution. Once that foundation is in place, the tools become far more predictable.
Also Read: Top AI Tools for Film Production in 2025
Pre-Production: Lock The Concept, Constraints, And Runtime
In AI filmmaking, pre-production does more work than any other phase. It’s where you prevent re-renders, control costs, and preserve coherence.
1. Define The Film’s Job
Before writing or generating anything, be clear about what the film is supposed to do. A trailer, a narrative vignette, and a branded promo have very different pacing and structural needs. If the job isn’t defined, every creative choice becomes debatable later.
2. Set Hard Constraints Early
AI performs better when boundaries are explicit. At minimum, lock:
- Runtime (for example, 30–60 seconds)
- Aspect ratio (vertical vs horizontal)
- Primary platform and viewing context
These constraints directly affect shot length, framing, and visual density. Changing them later almost always means regenerating scenes.
3. Build A One-Page Creative Brief
You don’t need a long document. You need clarity. A one-page brief should capture:
- Tone and emotional intent
- Setting and stakes
- What the viewer should feel or understand by the end
This brief becomes the reference point for every generation decision. When something feels “off,” this is what you check against, not the prompt history.
Strong pre-production turns AI from a guessing engine into an execution engine.
Related: How to Write a Script: Step-by-Step for AI, shorts and Film
Look Development: Build A Visual Framework That Stays Stable
In AI filmmaking, look development is not about finding a “cool style.” It’s about defining a visual framework that can survive multiple generations without drifting.
Most visual inconsistency problems come from skipping this step. When look decisions are left implicit, AI improvises. Faces change, lighting shifts, and environments lose coherence across scenes.
1. Decide The Non-Negotiables
Start by identifying the elements that must remain consistent throughout the film. These are the visual anchors that prevent drift.
Typical non-negotiables include:
- Overall lighting mood (soft, harsh, high-contrast, natural)
- Color direction (muted, saturated, monochrome-leaning)
- Camera feel (static, handheld, slow push-ins)
You are not designing every shot. You are defining boundaries.
2. Create A Simple Look Bible
A look bible does not need to be visual-heavy. It can be a short written reference that captures:
- The emotional tone of the world
- What the film should not look like
- Any recurring visual motifs
This document becomes a shared reference point for all scene generation.
3. Define Your Visual Baseline
Before generating the full film, establish a baseline scene that represents the intended look. This scene becomes the reference for subsequent shots, helping maintain continuity in characters, environments, and lighting.
Look development is complete when you can describe the film’s visual identity without referencing specific prompts.
Also Read: How to Create an AI Character Video
Script-To-Storyboard: Translate Words Into Shot Decisions
A script explains what happens. A storyboard explains how it appears on screen. In AI filmmaking, that distinction is critical.
Skipping the storyboard stage forces AI to make visual decisions that should belong to the filmmaker. This is where pacing problems and incoherent transitions originate.
1. Beat Map Before Writing Dialogue
Before refining dialogue or narration, map the story into beats. Each beat should represent a change, of information, emotion, or tension.
A simple beat map answers:
- What changes in this moment?
- Why does the viewer keep watching?
- What should visually stand out here?
This keeps the story moving and prevents visual redundancy.
2. Build A Shot List That Matches Pacing
Once beats are clear, assign visual roles to each moment. You don’t need cinematic jargon, just intent.
Clarify decisions such as:
- Where wide shots establish context
- Where close-ups carry emotion or emphasis
- Where transitions should feel abrupt versus smooth
These choices directly influence generation quality and editing efficiency.
3. Storyboard First To Avoid Re-Renders
Storyboarding doesn’t mean locking every frame. It means removing ambiguity around what must be shown versus what can be implied.
When a storyboard exists, weak scenes are easy to identify and replace. Without it, every fix risks breaking something else.
Related: AI Storyboard Generator for Video Production
Scene Generation: Build The Film In Modular Pieces
Scene generation is where AI filmmaking workflows either stay controllable or spiral into rework. The difference comes down to how much you generate at once.
High-quality AI films are not generated in a single pass. They are assembled.
Choose The Right Generation Mode Per Scene
Not every scene benefits from the same approach. Some moments require tighter visual control, others allow more freedom.
In practice:
- Use text-driven scenes when composition and pacing matter more than fine detail
- Use image-driven animation when look fidelity or character consistency is critical
Making this decision scene by scene prevents over-constraining the entire film.
Work Scene-By-Scene, Not Film-By-Film
Generating the full film in one go makes fixes expensive. Modular generation keeps iteration cheap.
A scene-based approach allows you to:
- Replace weak shots without touching strong ones
- Adjust pacing locally instead of globally
- Maintain continuity by referencing prior scenes
This mirrors traditional coverage thinking, adapted for AI.
Use Prompt Controls For Continuity, Not Decoration
Prompts should encode identity and intent, not novelty. Re-introducing the same character, wardrobe, location, and camera logic anchors each scene in the same world.
Continuity improves when prompts emphasize:
- Who is present
- Where the scene takes place
- What visual rules must persist
When these elements stay stable, style drift drops sharply.
Also Read: How to Write Prompts for AI Video Generators in 2026
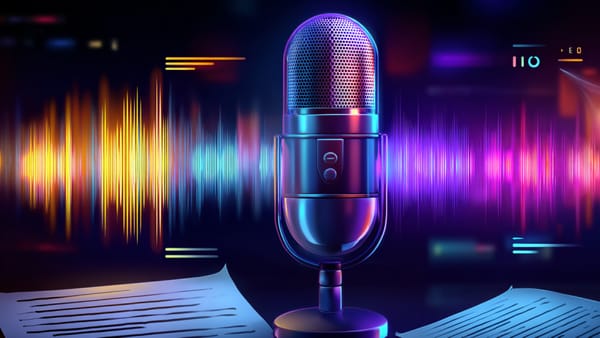
Voice, Dubbing, And Timing: Treat Audio As Production, Not Polish
Audio decisions shape the rhythm of a film more than visuals do. Treating sound as an afterthought forces visual rework later.
In AI filmmaking, audio belongs in production, not post.
Pick Your Voice Strategy Early
Decide how the story is carried before generating scenes. Narration-led films behave very differently from dialogue-driven ones.
Common strategies include:
- Single narrator guiding the viewer
- Character dialogue carrying the plot
- Minimal dialogue with visual emphasis
Each choice affects shot length and pacing.
Time Audio To Shots, Not The Other Way Around
Visuals should support the cadence of speech, not fight it. When narration or dialogue is finalized early, shots can be generated to match natural pauses and emphasis.
This avoids:
- Awkward cuts mid-sentence
- Overlong shots waiting for audio to finish
- Rushed visuals trying to catch up
Plan Localization Before Editing
If the film will be dubbed or translated, plan for it during production. Different languages change timing, which can break tightly cut scenes.
Leaving buffer in shot duration makes localization far easier later.
Related: Pros Of AI Avatar Text-to-Video Tools For Content Creation 2026
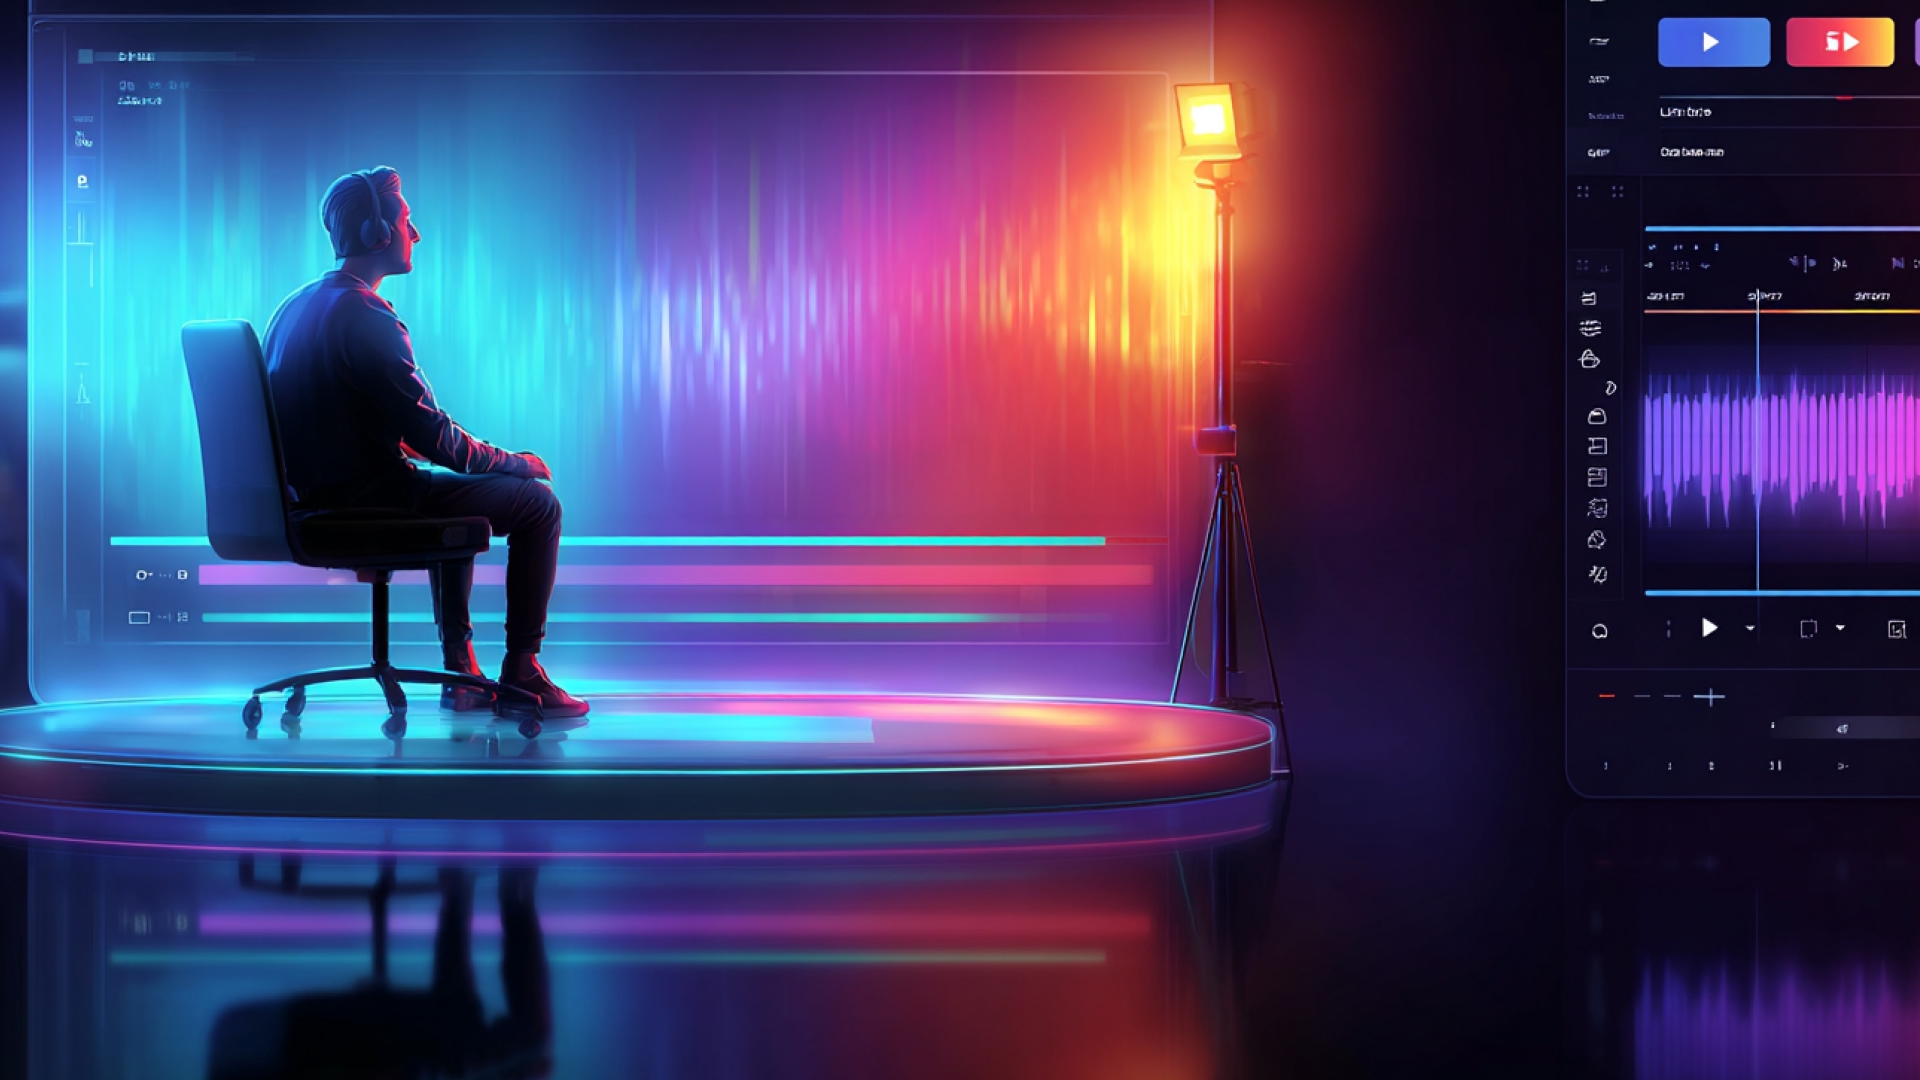
Editing And Finishing: Cut For Momentum, Then Clean Up
Editing in AI filmmaking is less about finesse and more about judgment. The primary goal is not perfection, it’s momentum.
Most AI films that feel “off” don’t suffer from bad visuals. They suffer from weak pacing and unclear emphasis. Editing is where those problems are corrected.
First Pass: Structure And Pacing
The first edit should ignore polish entirely. Focus only on whether the film moves.
At this stage, evaluate:
- Does the opening establish context immediately?
- Does each shot advance the beat, or stall it?
- Are there moments where attention dips?
If a scene slows the film down without adding meaning, remove or replace it.
Second Pass: Continuity And Flow
Once structure holds, address transitions and visual consistency.
This pass looks for:
- Jarring shifts in lighting or composition
- Shots that feel out of sequence
- Motion or framing that breaks immersion
Continuity issues are often easier to fix by replacing a scene than by trimming around it.
Third Pass: Captions, Titles, And Export Specs
The final pass prepares the film for its delivery context.
This includes:
- On-screen text and captions (especially for sound-off viewing)
- Title cards or end slates
- Platform-specific export settings
Editing is complete when nothing distracts from the story’s intent.
Quality Control: The Checklist That Prevents “AI Slop”

Quality control is what separates intentional AI filmmaking from disposable output. It’s not about being conservative, it’s about being deliberate.
A simple checklist applied consistently does more than any single tool.
1. Continuity Checks
Before publishing, confirm that the film behaves like a single world.
Check:
- Character identity and appearance
- Environmental consistency
- Lighting and camera logic
Small inconsistencies accumulate quickly in short-form films.
2. Story Checks
Every shot should justify its presence.
Ask:
- What does this shot add?
- Does it advance the beat or repeat it?
- Would the film be clearer without it?
If a shot exists only because it looks good, reconsider it.
3. Audio Checks
Audio clarity affects perceived quality more than resolution.
Confirm:
- Dialogue or narration is intelligible
- Tone matches the visuals
- Timing feels natural, not rushed
4. Publish-Readiness
Finally, assess the film as a viewer would encounter it.
Evaluate:
- The first two seconds
- Caption readability
- Whether the ending resolves or invites continuation
If the film passes this checklist, it’s ready.
Related: Guide to Social Media Video Production 2026
Publishing And Iteration: Turn One Film Into A Repeatable System
Publishing is not the end of an AI filmmaking tutorial; it’s the beginning of the feedback loop that improves the next film.
The goal is not to treat each release as a standalone artifact, but to use real performance signals to refine future production decisions.
Versioning Instead Of One Final Cut
AI makes versioning practical. Instead of committing to a single cut, export controlled variants.
Common variations include:
- Alternate openings or hooks
- Slightly different pacing in the first 5–10 seconds
- Shortened or expanded endings
Versioning reveals what actually drives retention, not what should work in theory.
Build A Feedback Loop That Affects Pre-Production
Performance data is only useful if it feeds back into planning.
Use viewer behavior to adjust:
- Beat placement in storyboards
- Shot density and pacing
- Where narration or visuals carry the load
This turns publishing into a learning system, not a guessing game.
Create Reusable Assets For Future Films
As patterns emerge, formalize them. Reusable assets reduce friction and improve consistency.
Useful assets include:
- Recurring characters or narrators
- Title card and caption styles
- Sound beds and transition logic
Iteration becomes faster when you’re evolving a system instead of reinventing a film every time.
How To Use Frameo In An AI Filmmaking Tutorial Workflow
Frameo fits this kind of AI filmmaking tutorial because it supports the parts of production that usually break first in AI-led projects: structure, continuity, and speed. Its workflow is built around turning story prompts into short-form video output without forcing creators to stitch together separate systems for planning, scene generation, and voice.
The strongest fit is across four production steps:
- Prompt-To-Video For First-Pass Film Builds
Frameo can turn a story prompt or script into a cinematic short video, which makes it useful for early concept builds, rough narrative passes, and fast visual prototyping. - Storyboarding And Scene-by-Scene Structure
Frameo’s AI Storyboard Builder maps written input into shot-by-shot sequences, and its scene-by-scene workflow helps creators generate films in modular pieces instead of one fragile pass. That is especially useful when pacing or continuity needs to be adjusted without rebuilding the entire film. - Consistency Across Characters, Style, And Framing
Frameo is positioned around character persistence, style consistency, narrative continuity, and cinematic framing across scenes. For story-led short films, that matters more than raw generation volume because continuity problems usually destroy the final cut faster than weak individual shots do. - Voice, Dubbing, And Vertical-Ready Output
Frameo includes voice generation, dubbing, multi-language support, and vertical short-form output, which makes it usable for narrator-led films, dubbed versions, and mobile-first cinematic content built for Shorts, Reels, and episodic formats.
In workflow terms, that means Frameo can carry a project from script → storyboard → scene generation → voiced edit inside one story-first system, which is exactly the kind of production discipline this tutorial is trying to teach.
Conclusion
A solid AI filmmaking tutorial should not teach clip generation as if that were the same thing as film production. The projects that hold together are the ones that lock intent early, storyboard before rendering, generate scenes modularly, and treat audio as part of production rather than cleanup.
That is also why the workflow matters more than the model. If concept, structure, continuity, and pacing are handled well, AI becomes a practical production system for cinematic short-form work. If those decisions are loose, the output usually collapses into disconnected footage.
Frameo is a strong fit for that production logic because it combines prompt-based creation, AI storyboarding, scene-by-scene generation, character and style consistency, voice, dubbing, and vertical-ready output in one workflow built for story-driven short films.
Start Creating Cinematic AI-Generated Videos With Frameo Today!
Frequently Asked Questions
1. What Is The Best Workflow For An AI Filmmaking Tutorial?
A storyboard-first workflow that separates pre-production, scene generation, and post-production is the most reliable. It minimizes re-renders and preserves continuity across scenes.
2. Should I Start With Text-To-Video Or Image-To-Video?
Text-to-video works well for early exploration and pacing. Image-to-video is better when you need strict visual consistency for characters or environments.
3. How Do I Keep Characters Consistent Across Scenes?
Define character identity early, reuse visual references, and generate scenes modularly. Avoid rewriting identity details in every prompt.
4. How Much Storyboarding Is “Enough” For AI Films?
Enough to remove ambiguity. You don’t need locked frames, but you do need clarity on what must be shown, emphasized, or implied.
5. What’s The Biggest Mistake In AI Film Editing?
Trying to fix weak scenes through trimming instead of replacing them. In AI workflows, regeneration is often faster and cleaner.
6. How Do I Make AI Films Feel Intentional Instead Of Random?
By making decisions early. Clear intent in story, look, and pacing produces coherence. AI randomness is usually a symptom of unclear direction.